
Everyone Says This is the Best Tutorial for How to Do Dip Nails at Home!
If you want to learn how to do dip nails at home, you have come to the right place. This dip powder tutorial has gotten rave reviews! First-timers say they have followed these steps “to a T” and their dip nails turned out amazing. See below for the step-by-step dip nail tutorial so you can start creating gorgeous dip manicures at home.
Disclosure: This article contains affiliate links. As an Amazon Associate, I earn from qualifying purchases at no cost to you. I’m committed to providing thorough recommendations which means all expressed opinions are my own. You can read my full disclosure here. Please know your support of this content is incredibly appreciated!
watch tutorial: how to do dip nails at home
Learning how to do your nails at home can feel overwhelming at first. It may even feel a bit intimidating. Especially if you don’t have a ton of experience doing your own nails.
The good news is that you’ve now found this beginner-friendly dip powder tutorial.
THE GOAL: To give you a step-by-step dip nail tutorial that is super easy to follow. Without skipping over important tips & tricks that will simplify the process and improve your manicure results.

You’ll learn every little tip and trick that I’ve learned in my DIY nail journey. So you can quickly learn how to apply dip powder at home.
Here’s Why Everyone Says This is the Best (& Easiest!) Dip Nail Tutorial
There are so many dip powder tutorials online. I’ve watched many of them myself!
The problem is that so many of them skip over tiny little details that can make a world of difference with your manicure results. I found myself searching all over. Trying to figure out how to solve different dip powder application issues. It was so frustrating.
That’s why I carefully included every little tip and trick inside this tutorial. Making it so much easier to learn how to apply dip powder nails at home.
What’s truly amazing is the feedback from people who’ve followed these tutorials when learning how to use nail dip powder.
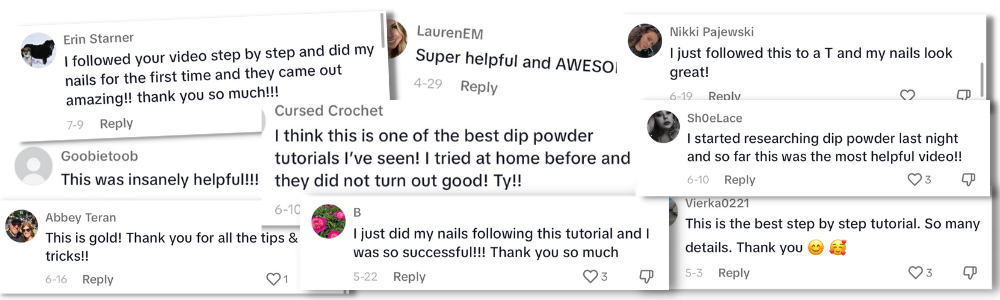
After receiving amazing feedback about this dip powder nail tutorial, it’s safe to say that the breakdown of every step has made it so much easier for beginners to learn.
Before You Begin, It’s Important to Keep This in Mind…
Be kind to yourself as you learn.
Even with all of the best tips and tricks shared in this tutorial, you may still have some imperfections as you learn.

It’s completely normal to need a few manicures to get the hang of the process. It’s also normal to make mistakes here and there. Heck, I even make mistakes after years of doing my nails at home!
The point is… this tutorial is meant to create a foundation for you to learn how to do your nails at home. Following these steps will make it easier as you go along. But if you have some imperfections along the way, don’t sweat it!
Simply enjoy the process. You deserve to feel proud of yourself for learning something new. You also deserve this time for much-needed self-care. Plus, we’ve got each other now. I’m in your corner to help overcome obstacles and pave the way for gorgeous results.
There’s one more thing you need to know before you begin applying your dip powder – prepping your nails. If you don’t do this, your dip powder manicure may not last long.
Important: Before You Apply Dip Powder, Prep Your Nails First!
How to Prep Your Nails
Failing to prep nails for dip powder like this can lead to chips, lifting and/or dip powder that pops off.
To effectively prep your nail, be sure to fully remove the cuticle. The easiest way to do this is by using a cuticle remover and a cuticle pusher. Make sure you thoroughly wash your nails after using a cuticle remover.
Next, you’ll want to lightly buff the nail to remove the shine. You can use a buffer block to do this.
Finally, make sure you fully cleanse the nail. I use this DIY nail cleanser recipe to fully remove any oils and moisture from the nail. To create this nail cleanser, you will need:
- Acetone-Safe Container
- 100% Pure Acetone
- 90% or More Isopropyl Alcohol
It’s also advised that you shape your nails before application. You can find nail shaping tutorials here:
- Square Shape Short Nails – this is the most basic and easy nail shape to do. It looks great on short nails with dip powder.
- Almond Shape Short Nails – though this tutorial shows how to shape shorter almond nails, you can use these same 3 tricks to shape longer almond nails too.
Once you’ve completed these steps, you’re ready to apply your dip powder.
Products Needed to Do Dip Nails at Home
Here’s What You’ll Need to Apply Dip Powder:
- Dip Nail Kit with liquid set and dip powder
- Curved Hand File – You can use any hand file to smooth and shape your dip powder. However, I prefer these curved files. The curved shape makes it easier to blend into your natural nails without tearing up your skin.
- Buffer Blocks – To achieve a smooth finish, these buffer blocks are fantastic. They can also be used during your prep process as well.
- MelodySusie E-File (optional) – An e-file isn’t necessary as you can achieve a smooth dip manicure just by using a hand file. However, an e-file can make it easier to blend into the natural nail. It can also speed up the buffing process.
- Toothpick – A toothpick will help you achieve clean cuticle lines.
- Toothbrush – You need to brush off excess dip powder between layers to ensure you do not contaminate your base liquid. I prefer using a toothbrush. The stiffer bristles do a great job of removing powder from every little crevice.
- Nail Tips (optional) – You do not need tips to dip your nails. However, if you want to get instant length, you can apply nail tips before dipping your nails.
- Nail Glue (optional) – If you will be applying nail tips, you will need a good nail glue to secure them.
Recommended Dip Powder Nail Kits
Using a good set of dip powder liquids will make a drastic difference in learning how to do dip nails. That’s why choosing a good dip nail kit is important. Some are much easier to use than others, especially if you’re a beginner.
Here’s a list of recommended dip powder nail kits:
- BEST BUDGET-FRIENDLY DIP NAIL KIT:
- Makartt Dippies Kit – This is the best affordable DIY nail kit on Amazon! For this price point, you cannot beat the value included with the kit (it includes all of your essentials and a few dip powder colors) and the quality. These dip liquids apply very well, even for beginners.
- Makartt Dippies Kit – This is the best affordable DIY nail kit on Amazon! For this price point, you cannot beat the value included with the kit (it includes all of your essentials and a few dip powder colors) and the quality. These dip liquids apply very well, even for beginners.
- BEST BEGINNER-FRIENDLY DIP NAIL KIT:
- Sparkle & Co – The base liquid from Sparkle and Co offers a slow dry time. Making it the perfect option for people who want to take their time while painting their nails. Keep in mind that these liquids are slightly thicker. Be sure to wipe the brush to avoid applying too much liquid.
- Sparkle & Co – The base liquid from Sparkle and Co offers a slow dry time. Making it the perfect option for people who want to take their time while painting their nails. Keep in mind that these liquids are slightly thicker. Be sure to wipe the brush to avoid applying too much liquid.
- BEST PREMIUM DIP NAIL KIT
- Kiara Sky – These dip powder liquids are fantastic! They are easily applied in thin layers and offer a great application. They wear extremely well for a gorgeous manicure. Keep in mind that these liquids tend to dry more quickly. This won’t give you as much time to paint on the base liquid before dipping, which can be tricky for beginners.
How to Do Dip Nails at Home
To achieve a great dip powder manicure at home, follow these steps. If you want a clear visual for how to do dip nails, you can watch the video above for a clear demonstration.
Please note: this dip nail application process follows the “Tiktok” application method for building an apex. By building an apex on the nail, you will add strength. This will help your manicure last longer.
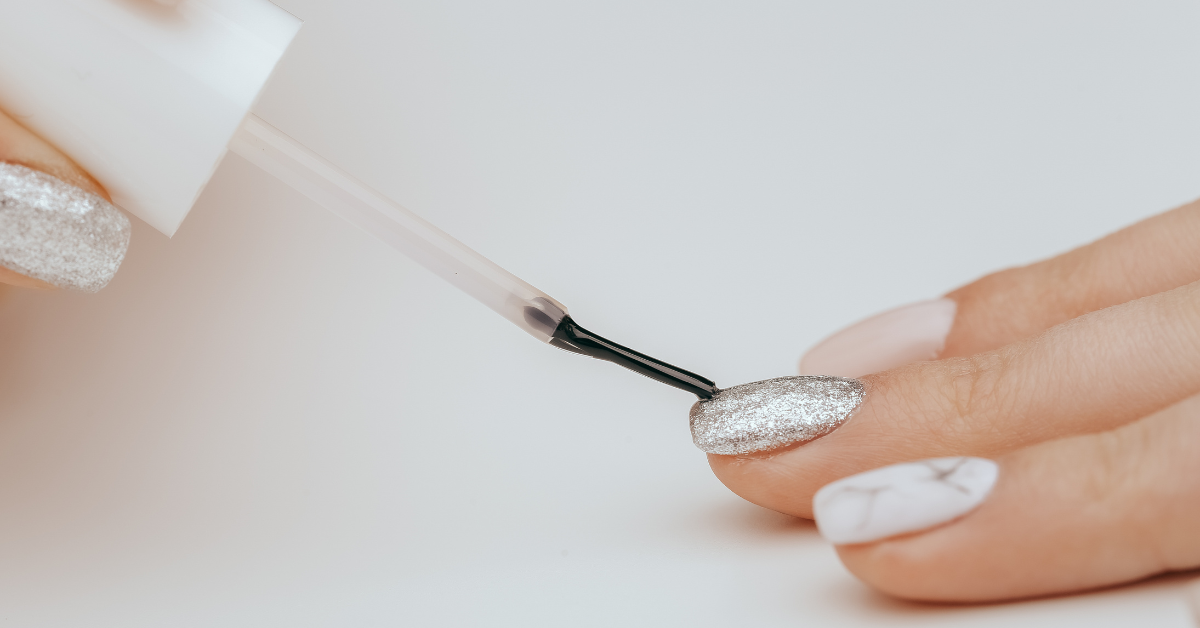
Step 1) Use Base Liquid to Apply Dip Powder Layers

Once you have prepped your nails, it’s time to apply your dip powder layers.
To ensure great coverage and enough added strength to help your manicure last, I recommend following this apex-building method when applying your layers:
- Apply base liquid to the entire nail and dip.
- Apply base liquid to the bottom 1/2 of your nail, cap the edges by running the brush along the free edge and dip.
- Apple base liquid to the bottom 3/4 of your nail, cap the edges by running the brush along the free edge and dip.
- Apply base liquid to the entire nail and dip.
IMPORTANT TIPS FOR STEP 1:

- Apply each layer to one finger at a time. Once you've completed the entire hand, that's when you move on to the next layer.

- Once your base liquid has dried, brush the excess powder from the nail before applying your next layer. This will prevent contamination of your base liquid. It will also help you achieve smooth layers. I use a toothbrush to do this as the stiffer bristles do a great job of getting powder out of all the crevices on the nail.

- Always use this "push back" technique when applying your base liquid to avoid flooding the cuticle and get an even application. To do this, start your brush in the middle of the nail, then push back. This will distribute the liquid more evenly, prevent cuticle flooding and help you achieve clean cuticle lines.

- Make sure you use the toothpick trick to get perfect cuticle lines with dip powder! Use a toothpick after each full dip to trace around the cuticle area. This will help you achieve clean cuticle lines.
Step 2) Apply Activator to Cure Your Dip Powder

When you’re finished applying the dip powder, give your nails a thorough brush to remove any excess powder.
Then grab your activator and apply a generous amount to each nail.
SIDE NOTE: Many people ask if you need a UV lamp with dip nails. You don’t! That’s because the activator liquid fully cures the dip.
The curing time can vary between brands. However, most will be fully cured in 1-2 minutes.
IMPORTANT TIPS FOR STEP 2:

- You can check if your nails have fully cured by tapping on them. If you hear a tapping sound, you are ready to go.

- If your nails still feel soft, you can apply additional layers of activator.
Step 3) Buff Your Nails Smooth

It’s time to buff those nails smooth!
If you have an e-file, you can use it here to speed up the buffing process.
If you don’t have an e-file, I highly recommend using a curved file as this makes it easier to buff and blend your edges without irritating your skin.
To buff and shape your dip nails, use a curved file and begin going around the cuticle area to blend the dip into your natural nail. Then moving in one direction, file each side of your nail to remove any lumps, bumps and imperfections.
You can learn how to buff dip powder nails here – this will provide you with a helpful visual for how to do this buffing and shaping process.
I like to finish off the buffing process with an orange buffer block. These are great for smoothing out your dip!
Step 4) Cleanse & Apply Activator

When your nails are buffed smooth, use a nail brush and water to remove any dust and debris.
Once your nails are clean, be sure to dry them thoroughly.
Then grab your activator and apply it to each nail. Your activator is necessary to properly cure your top coat.
Then grab a lint-free wipe (paper towel works too!) and wipe the excess activator from each nail. This will prevent your top coat from being contaminated and/or hardening your brush.
IMPORTANT TIPS FOR STEP 4:

- Your activator is necessary to properly cure your top coat. Do not skip this step!

- Don't wait too long before you apply your top coat or it may have trouble curing. Wait times vary between brands. However, with most brands, you can apply your top coat 1-2 minutes after applying the activator.

- Don't apply your top coat before the activator has had a chance to dry or you may end up with rough patches on your top coat. Again, wait times can vary, but usually 1-2 minutes is safe.
Step 5) Apply Top Coat

To achieve a shiny top coat finish, it’s important to use this technique when applying top coat for dip nails.
For your first layer, it’s important to limit the contact time your brush has with the nail. This will prevent your top coat from contaminating and hardening the brush. So for this layer, apply 2-3 very quick strokes to each finger.
Once you’ve applied the first layer to each finger, immediately apply your second layer of top coat. This time you can be much more precise to get full coverage. Be sure to cap your edges by running the brush along the free edge.
Although exact dry times can vary between brands, most are fully dry within 1-2 minutes.
IMPORTANT TIPS FOR STEP 5:

- Make sure you cap your edges with top coat! If not, you heighten your risk of chipping.
Step 6) Provide Nourishment to the Delicate Skin Around Your Nails
Once your top coat is dry, it’s important to replenish the delicate skin around your nails. This is especially important if you’ve removed your nails just before application as your skin and nails may be dry.
I love to finish my manicures off by using the Cerave Moisturizing Cream and the Onsen Cuticle Cream. Because I love a complete salon experience at home, I don’t skip out on the hand massage – it’s the best part!
I use my Snailax Hand Massager which uses compression to relieve tension. Talk about relaxing!
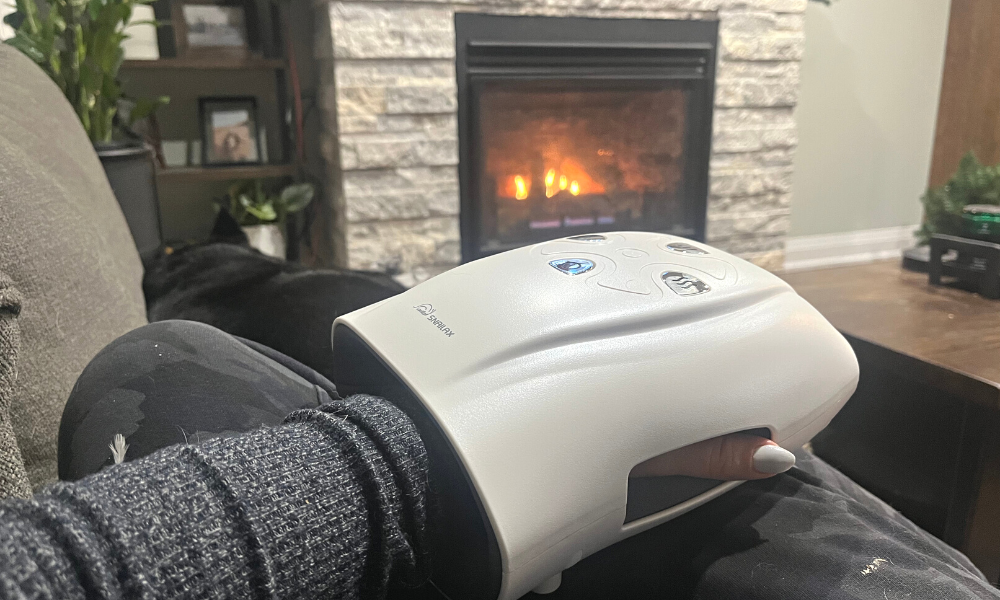
The massage doesn’t just feel amazing as you wind down after your manicure, it has some pretty awesome benefits too! A massage enhances blood circulation which promotes better nutrient delivery to the nail beds and skin. This aids in the absorption of any moisturizers or oils applied during the manicure, further nourishing the skin and cuticles.
Frequently Asked Questions
What is the best dip nail kit to use?
Choosing a quality dip nail kit will affect the ease of application. I’ve shared several recommendations here.
How long does a dip powder manicure last?
With a good nail prep routine, dip powder manicures can last for several weeks. Personally, I find my manicures last 7-14 days.
Generally, they begin to show a lot of “grow out” past the 14-day mark. At this point, I like to take them off to put on a fresh set.
It’s also recommended that you apply cuticle oil regularly. This will maintain flexibility and prevent the dip powder from pulling away from the nail which can cause lifting.
How do I stop my dip nails from lifting?
Following a good nail prep routine like this will prevent your dip powder nails from lifting. This includes removing the cuticles, lightly buffing the nail and using a good nail cleanser to remove moisture and oils.
You also need to avoid getting product on the skin as this can cause the dip to lift. In addition, cap the edge of your nails when applying to avoid lifting at the nail tip. Following these tips as you learn how to do dip nails will pave the way for a longer-lasting manicure.
Why do I need so many layers?
To help your dip powder manicure last as long as possible, you need to apply enough layers. If you don’t apply enough dip powder layers (or if you overbuff!) your dip powder will be more prone to cracking and chipping.
This technique is especially helpful for making your manicure last. The layers are designed to build an apex on the nail. The apex adds strength to help your manicure last.
While 4 layers may seem like a lot, the 2nd and 3rd layers only cover part of the nail. This prevents the dip from becoming too bulky around the cuticle area while still adding strength to the nail.
How do I avoid cracking my dip powder manicure?
Cracking is often caused by dip powder that is too thin. This means you may not be adding enough layers. It’s also possible that you’ve over-buffed and thinned out the dip too much. Cracking can also be caused by old or contaminated activator liquid. Be sure to keep an eye on your liquids!
How do I stop my dip powder manicure from chipping?
The most effective way to prevent your dip nails from chipping is by capping the edges. I’ve made a short tutorial to show you how to prevent dip nails chipping here.
In the application video, you’ll see that I cap my edges twice when dipping and then at the final top coat stage. To cap the edges, simply run your brush lightly over the free edge of your nail.
Final Thoughts
By following this step-by-step tutorial, you will be well on your way to creating gorgeous dip powder manicures at home. Just remember to give yourself some grace as it can take a couple of tries to get the hang of everything.
Now that you know how to do dip nails, you’ll need some nail inspo! You can find beautiful dip nail ideas and trendy nail designs for every season here.
If you want to get all the dip powder tutorials in one convenient place, be sure to grab the free Ultimate Guide to Dip Powder Nails.
Ready for More DIY Dip Nail Recommendations?
- You can find all of the best DIY nail product recommendations and essentials by visiting my Amazon storefront.